
18 Half Up Half Down Wedding Hair Ideas for Every Bride
Half-up styles win a lot of brides over for a simple reason: you get your hair off your neck for the ceremony but keep the length showing in every photo. What changes the whole look is the crown, the part you actually do something with. A twist feels soft, a braid looks more worked, a slicked section turns it modern. The styles below sort by that crown detail, from a two-minute pinned pull-back to braids that need a steady hand. Pick by how much time you've got and how formal the day runs.
Jump to:
- Classic Pinned Pull-Back
- Twisted-Back to a Center Knot
- Rope-Twist Crown
- Topsy-Tail Pull-Through
- Top Knot Half-Up
- Mini Ponytail Half-Up
- Bubble Half-Up
- Hair-Bow Half-Up
- Coiled Rosette Knot
- Dutch Braid Crown
- French Braid Crown
- Fishtail Crown
- Waterfall Braid
- Lace Braid
- Braided Halo
- Double Half-Up
- Teased Bouffant Crown
- Side-Swept Half-Up
Classic Pinned Pull-Back
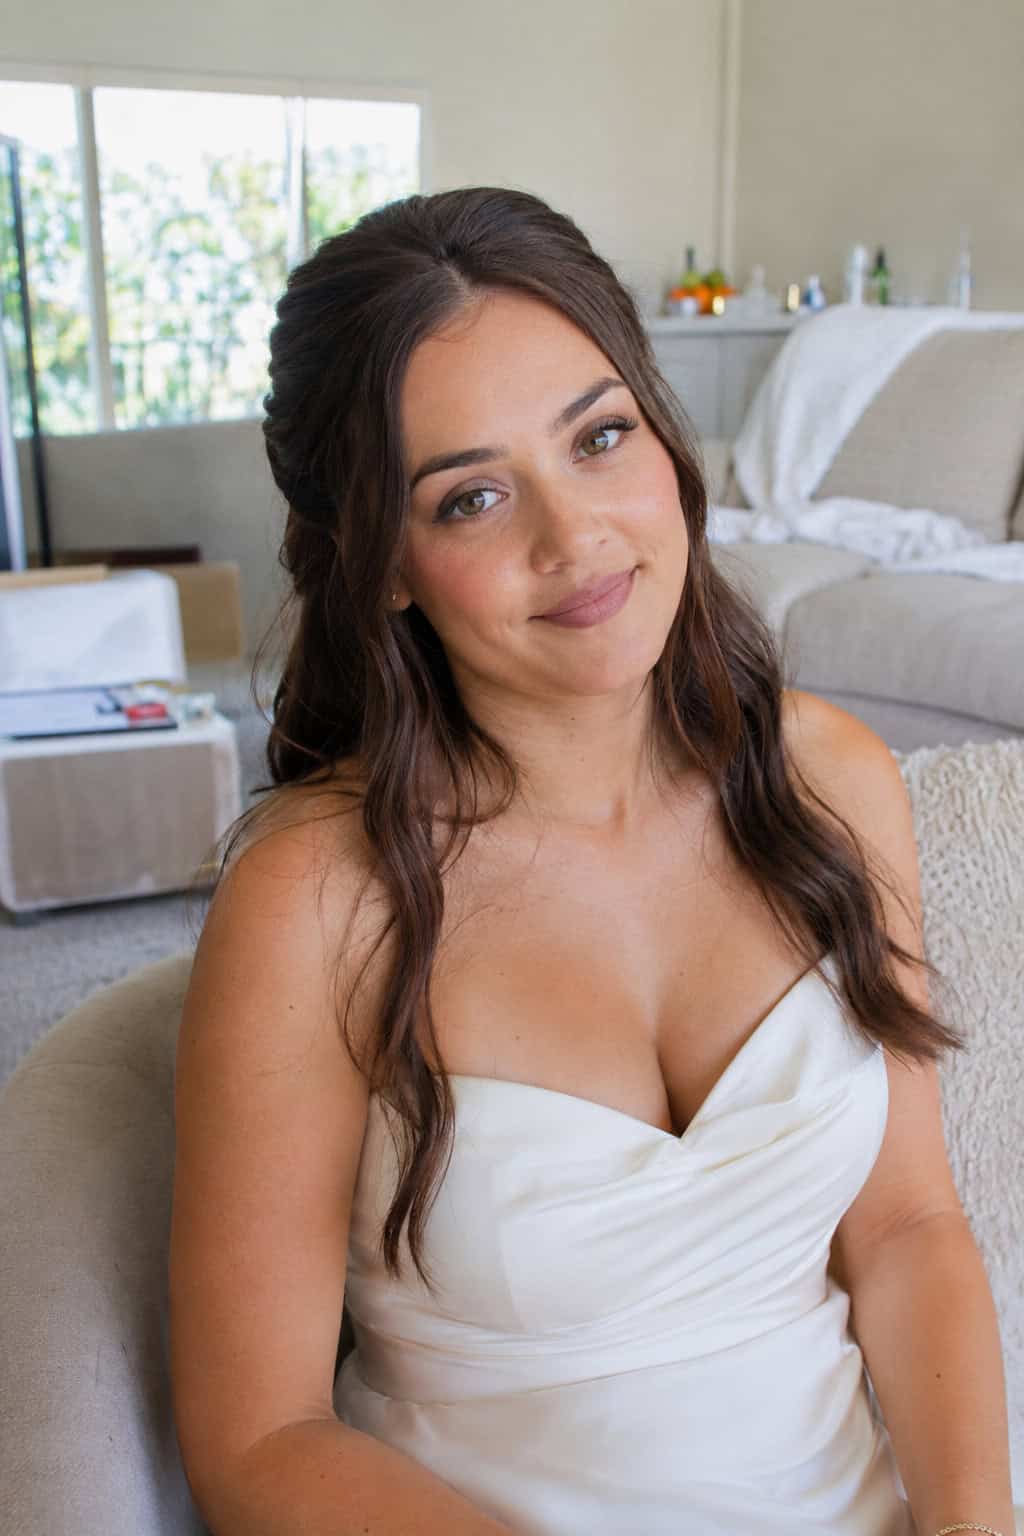
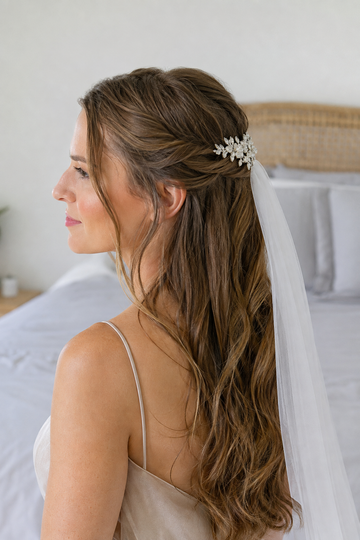
The one nearly everyone starts with. Take the top and side sections, gather them at the back of the crown, and pin, leaving the length down. Build a little lift at the roots first so the crown doesn't sit flat against the head. Hide the pins under a smooth top layer. It works with any dress and any texture, which makes it the safe pick when you can't decide. Two minutes once you've done it once.
Twisted-Back to a Center Knot
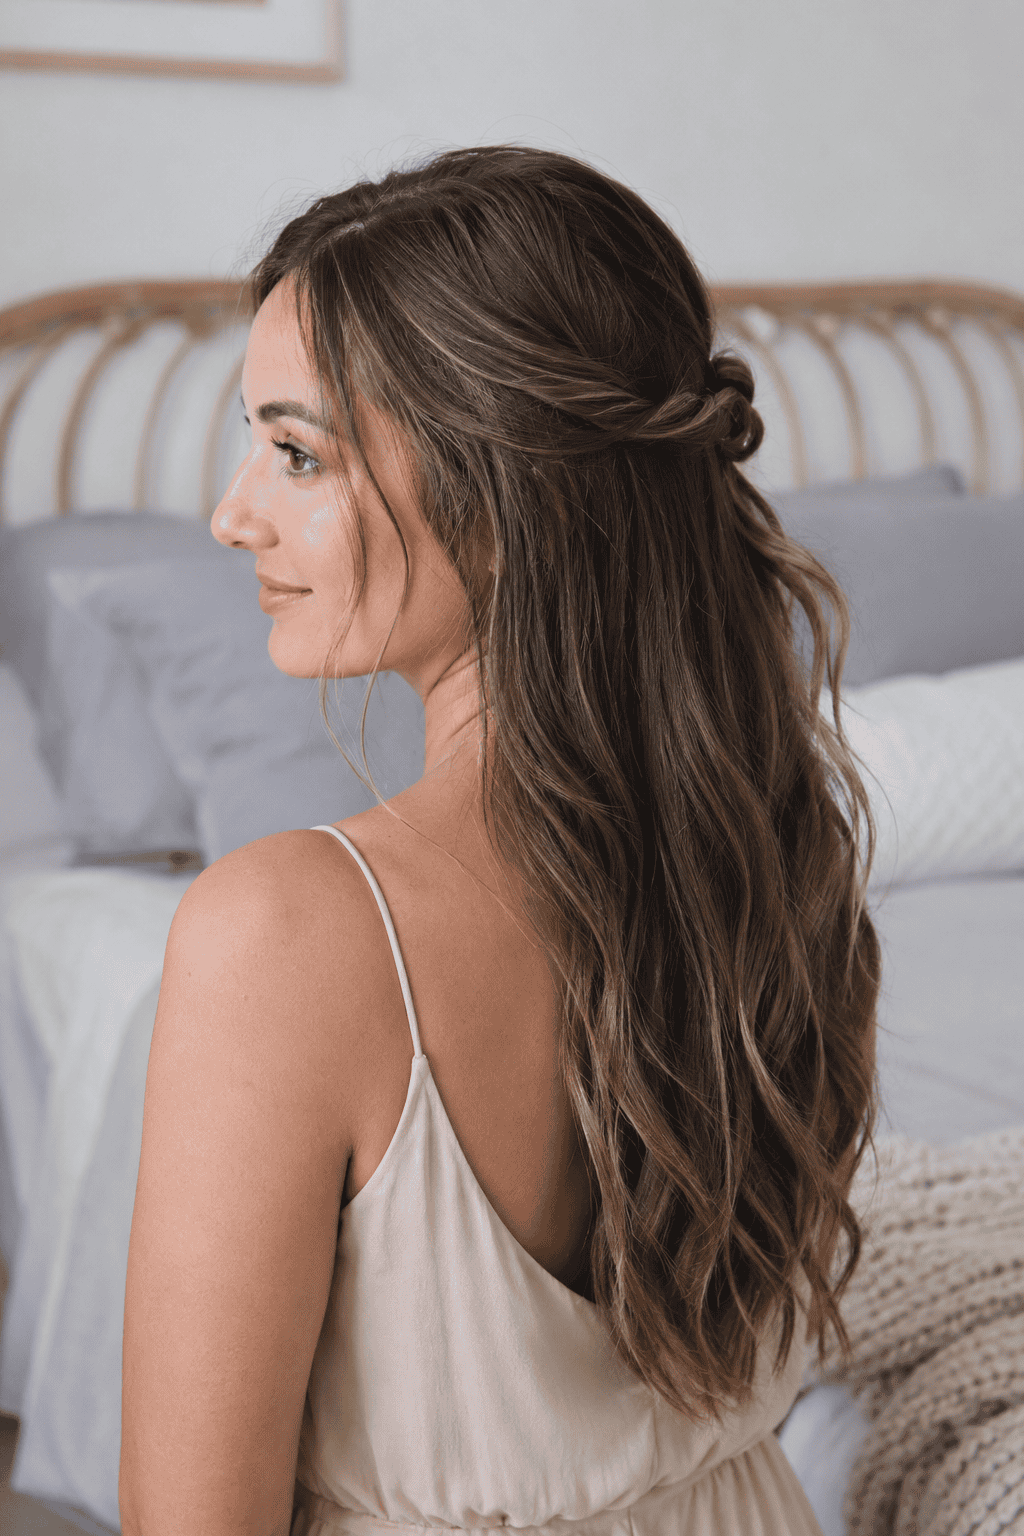
Twist a section from each side, bring them to meet at the center back, and tie them into a small knot rather than just pinning flat. The knot gives the back something to look at, which matters during a long ceremony. Keep the twists loose for a soft finish or tighter for a neater one. Waves left underneath suit it best. If the knot slips, a hidden elastic under it holds the day.
Rope-Twist Crown
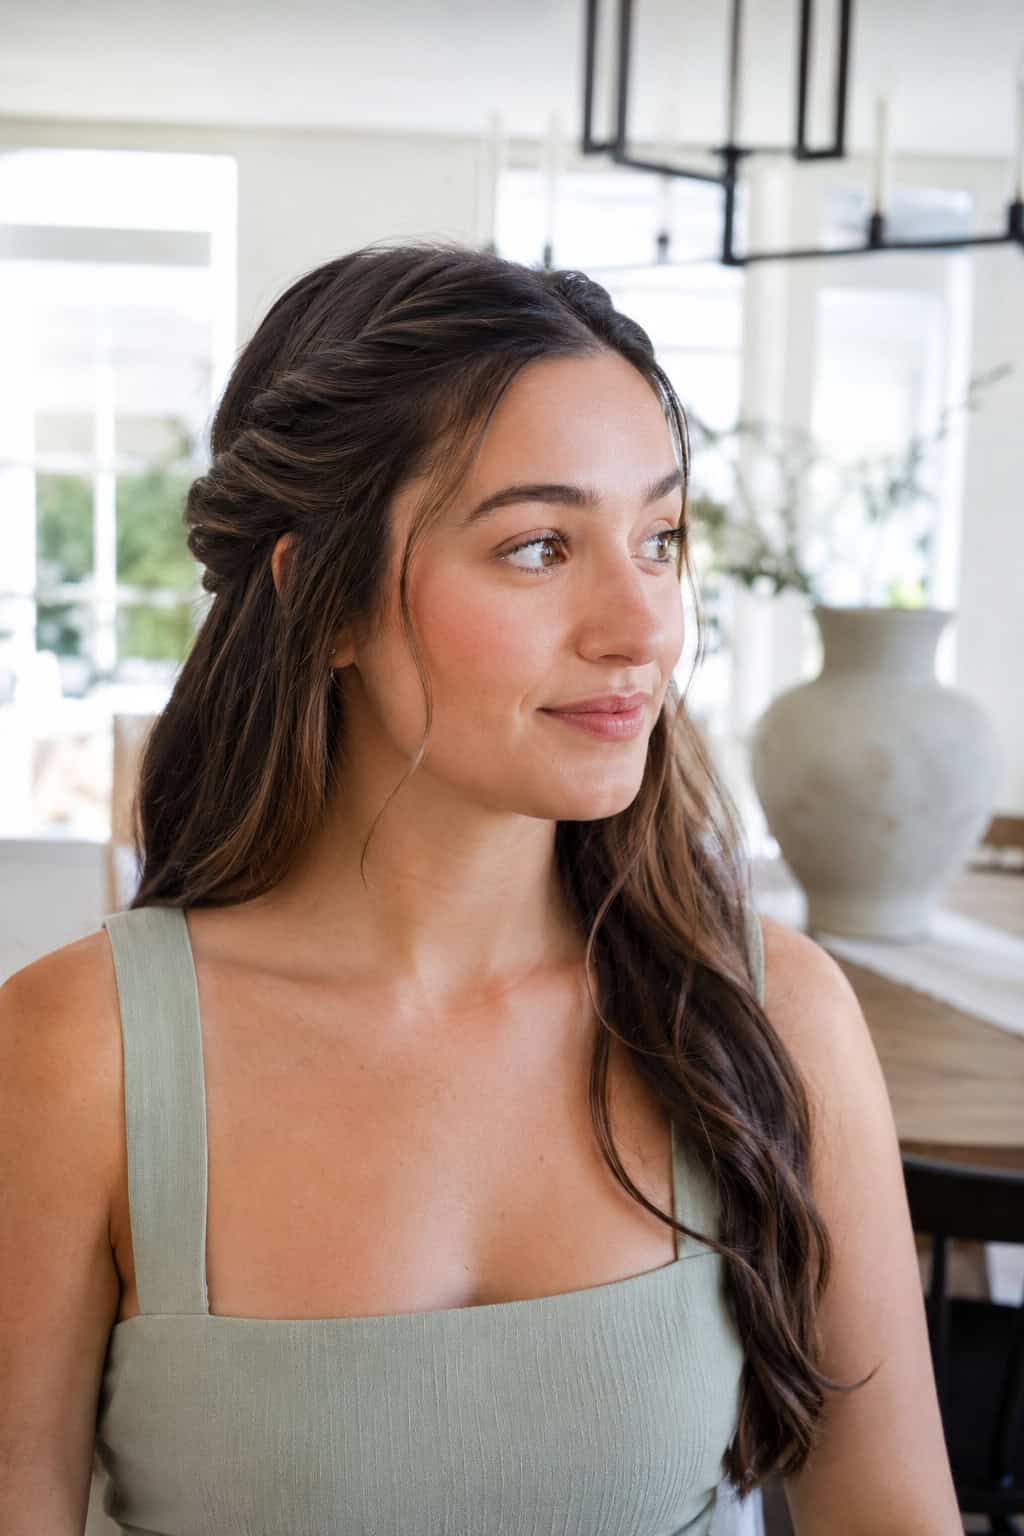
Split the top into two strands and wind them around each other into a rope, then pin the rope back. It holds firmer than a flat twist because the two strands lock together, so it's a good pick for fine hair that tends to loosen. Pull the edges of the rope wider once it's pinned so it looks fuller. Suits boho and garden weddings. A friend can manage it without much practice.
Topsy-Tail Pull-Through
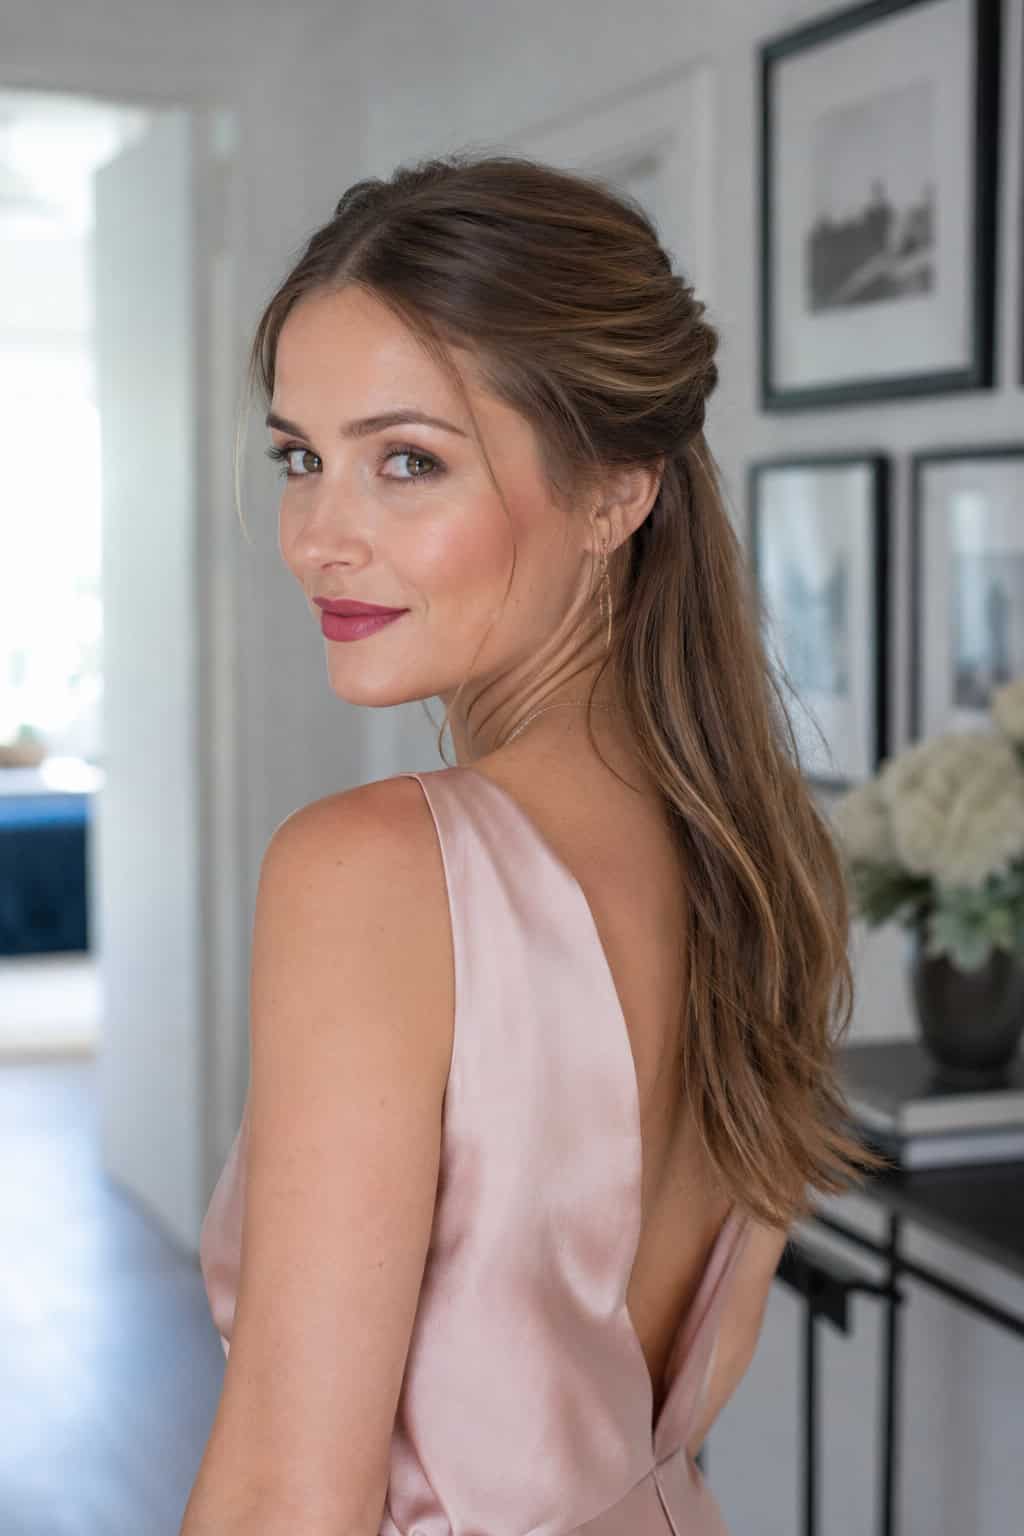
Tie a loose half-up, then split the hair above the elastic and flip the tail up and through the gap. You end up with a neat wrapped twist where the elastic would show. It's quick, needs no pins, and there's a plastic loop tool that makes it foolproof. Do it twice, stacked, for more detail. Best on smooth or lightly waved hair, since heavy curls can hide the twist entirely.
Top Knot Half-Up

Pull just the crown into a small bun on top of the head and leave everything else down. It's young and a little modern, good for a city venue or a less formal day. Keep the knot tidy for a sharp look or tug it loose for something softer. Fine hair might need a small foam insert to give the knot some body. Ten minutes, and it keeps hair off the face without going full updo.
Mini Ponytail Half-Up
Gather the top section into a small ponytail at the crown, wrap a strand around the base to hide the band, and let the rest hang. It's the plainest of the lot, which is the point when the dress or the veil is doing the talking. Curl the length underneath so it doesn't fall flat. Works on every texture. Good for the bride who wants tidy without anything fussy going on.
Bubble Half-Up
Take the top ponytail and add small clear elastics down its length, then puff each section between them into little bubbles. It's playful, and it stands out in a group of plainer styles. You need enough thickness in that top section to make the bubbles look full, so it favors dense hair. Space the elastics evenly or one bubble ends up bigger than the rest. Fun in photos and quick to redo if one drops.
Hair-Bow Half-Up
The hair bow had its moment a while back and still shows up at weddings. You loop the top section into two bunny-ear shapes, pull a strand across the middle for the knot, and pin. It leans sweet, better for a relaxed or younger party than a black-tie evening. Thick hair holds the loops open. Fine hair needs teasing first, or the bow goes limp by the reception.
Coiled Rosette Knot
Instead of a plain knot at the back, twist the pulled-back sections into a small coiled shape, like a flat rose sitting against the head. It's a step up in detail without needing braid skills, and it looks lovely from behind. Soft undone curls underneath keep it from looking stiff. This one suits a garden ceremony or anywhere with a lot of natural light. Pin the coil at several points so it doesn't unravel mid-dance.
Dutch Braid Crown
Start a Dutch braid at one side of the hairline and work it across the crown, then let the braided section join the loose length at the back. Because a Dutch braid sits up on top of the hair rather than tucked under, it stands out and adds texture. It suits boho and outdoor weddings. Fine hair holds it better than a French braid does. Leave this to someone who braids with confidence.
French Braid Crown
A French braid across the front works the opposite way to a Dutch one, tucking under so it lies flat and smooth against the head. That flatter finish leans more formal, good for a classic or evening wedding. Braid it loosely and tug the edges out afterward so it doesn't look tight or schoolgirlish. Keep the rest in soft waves. Slippery straight hair needs texture spray first, or the braid slips.
Fishtail Crown
Pull the top section back and braid just that piece into a fishtail before pinning it down over the loose hair. The small V-pattern of a fishtail gives more interest than a basic three-strand braid, and it stays neat for hours. Pancake it, meaning tug the edges wider, so it looks full rather than tight. It suits both soft and modern themes. You can do this one on yourself with a bit of practice.
Waterfall Braid
A waterfall braid runs sideways across the back of the head and drops strands as it goes, so the length keeps falling loose underneath the braid. It's the prettiest of the braids from behind, which counts when guests spend the ceremony facing the back of your head. This one takes a practiced hand. Loose waves hold the dropped strands better than pin-straight hair, which tends to slide right out.
Lace Braid
A lace braid is a half French braid: you only pick up hair from one side as you go, so the braid catches the crown on one edge and blends into the loose hair on the other. It's subtle, a soft frame around one side of the face rather than a bold band. Good for a bride who wants a braid without it taking over. Works on most textures. Keep it loose so the lace effect stays soft.
Braided Halo
Run a braid along the hairline like a headband, from one ear across the top to the other, and pin it there while the rest stays down. It keeps the front off the face completely, which helps on a hot day or a windy outdoor ceremony. Natural texture grips the braid better than silky hair. You need enough length at the front to reach across, so heavy face-framing layers can fight it.
Double Half-Up
Stack two half-up sections instead of one: a small pull-back at the very crown, then a second wider section gathered just below it. The two tiers add height and stop the back looking flat, and they hold more securely than a single section through a long night of dancing. Hide both elastics with wrapped strands. It suits thick hair that has volume to spare. Fine hair can look sparse pulled into two.
Teased Bouffant Crown
For a retro, sixties-leaning look, tease the crown for height before you pin the half-up back, so the top sits raised and full. It's dramatic and formal, good with a structured gown or a ballroom setting. Smooth the very top layer over the teasing so it looks clean, not messy. Backcombing is rough on hair, so keep it gentle and brush it out carefully that night. Not one for a laid-back beach wedding.
Side-Swept Half-Up
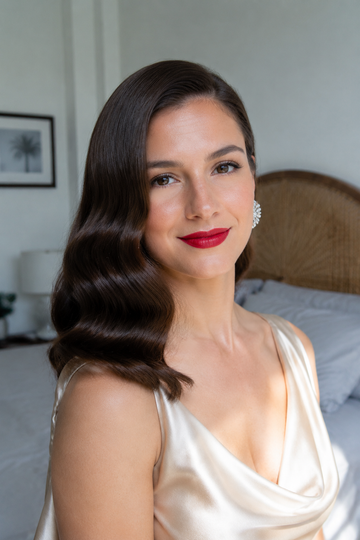
Sweep the top and sides across to one side, pin them behind one ear, and let the length fall over the opposite shoulder. All the weight going one way suits a one-shoulder dress or a statement earring on the bare side. Curl the loose hair so it holds together in one soft sweep. Because everything hangs to one side, pin the anchor point firmly, or it drifts back to center by dinner.
Comments
No Comments